APPROVE for Wix 
Given certain limitations of the WIX platform, APPROVE integration with WIX is limited to adding dynamic buttons on product pages that send users to the APPROVE Hosted Application.
| Topic | Overview |
|---|---|
| Requirements | - Ability to add buttons in Editor Mode - Ability to add custom scripts in Dev mode |
| Technical Level | |
| Available Features | - Hosted Application links |
| Implementation Overview | 1. Add Button to product pages in Editor mode 2. Adding a script in the "onReady" function in Dev Mode. |
{info} Before you begin be sure to review APPROVE Hosted Application for a basic understanding of formatting Hosted Application urls.
Installing APPROVE on your WIX Website
Below are step-by-step instructions for adding APPROVE to your WIX website.
Step 1: Customize your APPROVE Hosted application
To customize the fonts, colors, and logo to match your brand, login to your account and go to APPROVE Settings > Web Integration > Hosted Application
You can also retrieve the basic hosted application link here. The format is as follows:
Step 2: Add Financing Buttons to Product Pages
Log into your WIX account and go to the page where you want to add a button. In Editor mode, you will see the tool bar on the left. Click the “plus” icon in the top left hand corner to add items to the page.
The “Add” menu will pop up. From here click on “Button” to see the button sub-menu.
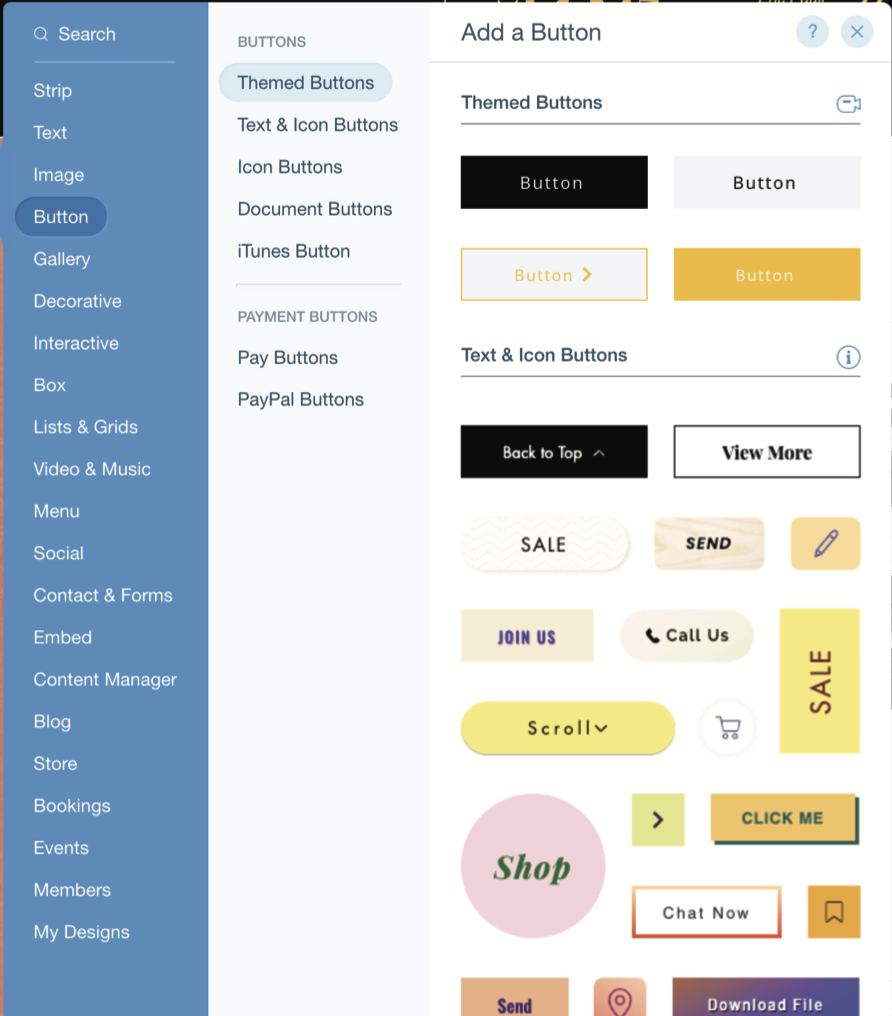
Selected the button style you want and drag it anywhere in the page.
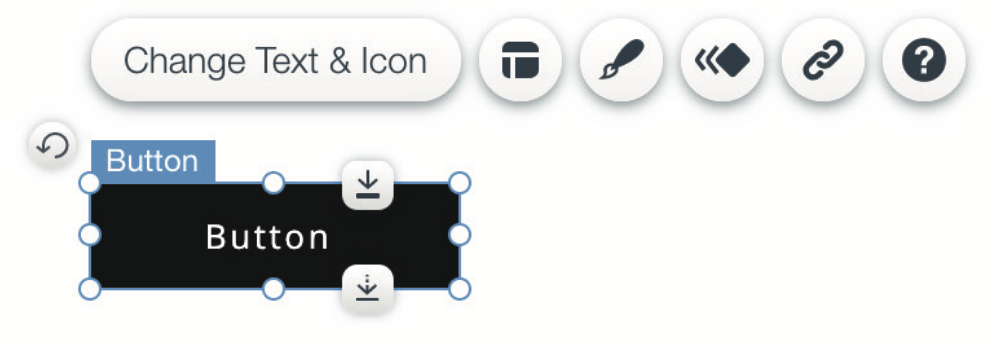
Click on “Change Text & Icon”. Here you can upload your own custon icon or just change the text displayed on the button.
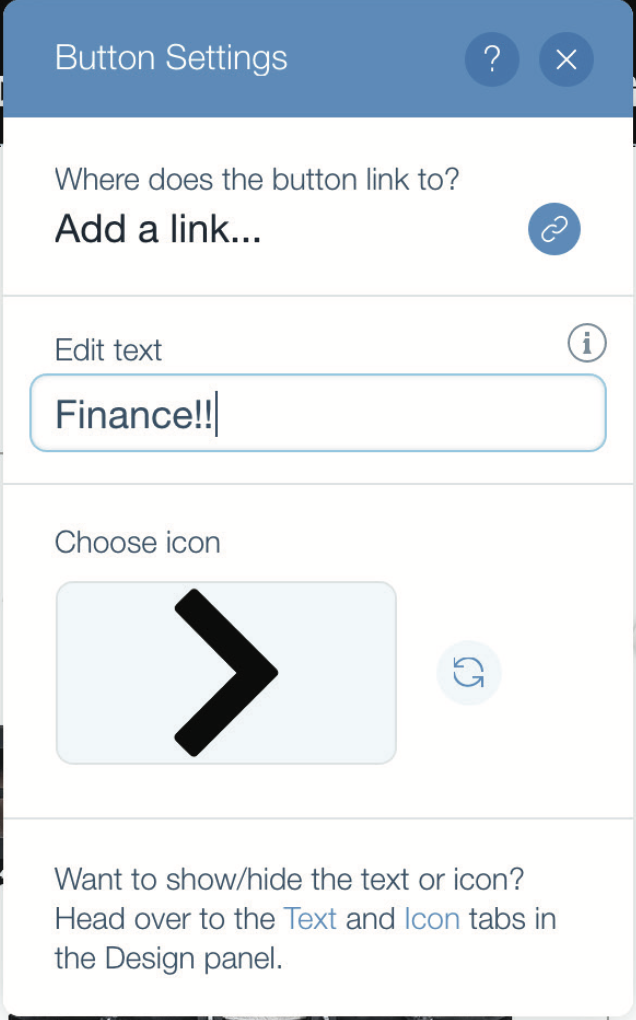
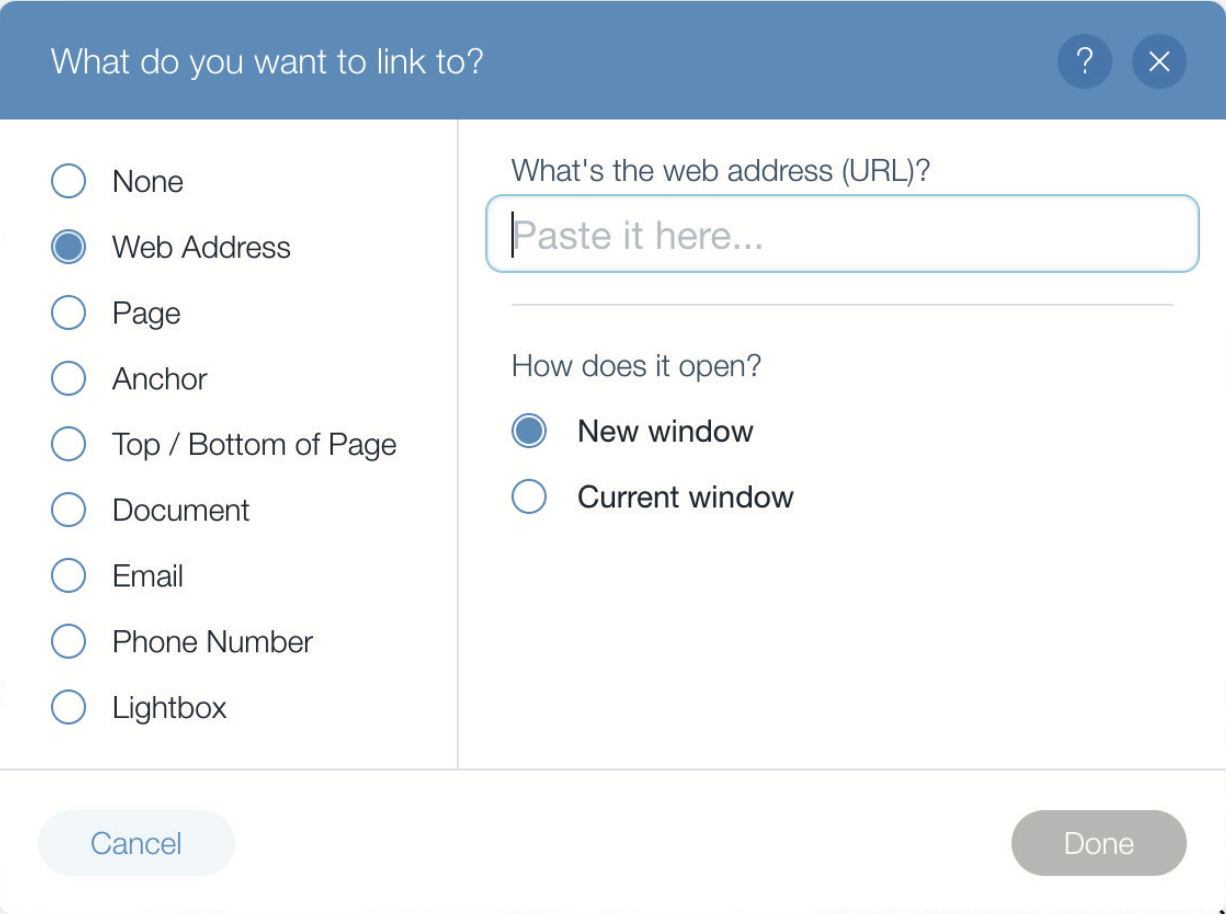
To link the button to a URL, click on the “chainlink” icon for the “link” sub-menu. On the left, select “Web Address” and paste your basic APPROVE Hosted Application link in the textbox on the right. Click “Done” when ready.
Step 3: Dynamically add Equipment to your links
Now, set your Wix editor to Dev Mode. Inside the "onReady" function, add the following code:
Example script
    $w('#productPage1').getProduct()
  .then((product) => {
    let productName = product.name;
    let productPrice = product.price;
    if(productPrice < 4000){
        $w("/docs/3.0/approve_wix#button1").hide();
    }
    $w("/docs/3.0/approve_wix#button1").link = 'https://www.kwipped.com/approve/finance?approveid=your-approve-id-goes-here&items=[{"model":"' + productName + '","price":' + productPrice + ',"subtotal":' + productPrice + ',"quantity":1,"type":"new_product"}]';
    })
  .catch((error) => {
    console.error(error);
  });
Make sure your button's ID is named "button1" and the page itself has an ID named "productPage1".
In the link, just use the variables in the place of the product name and price.